
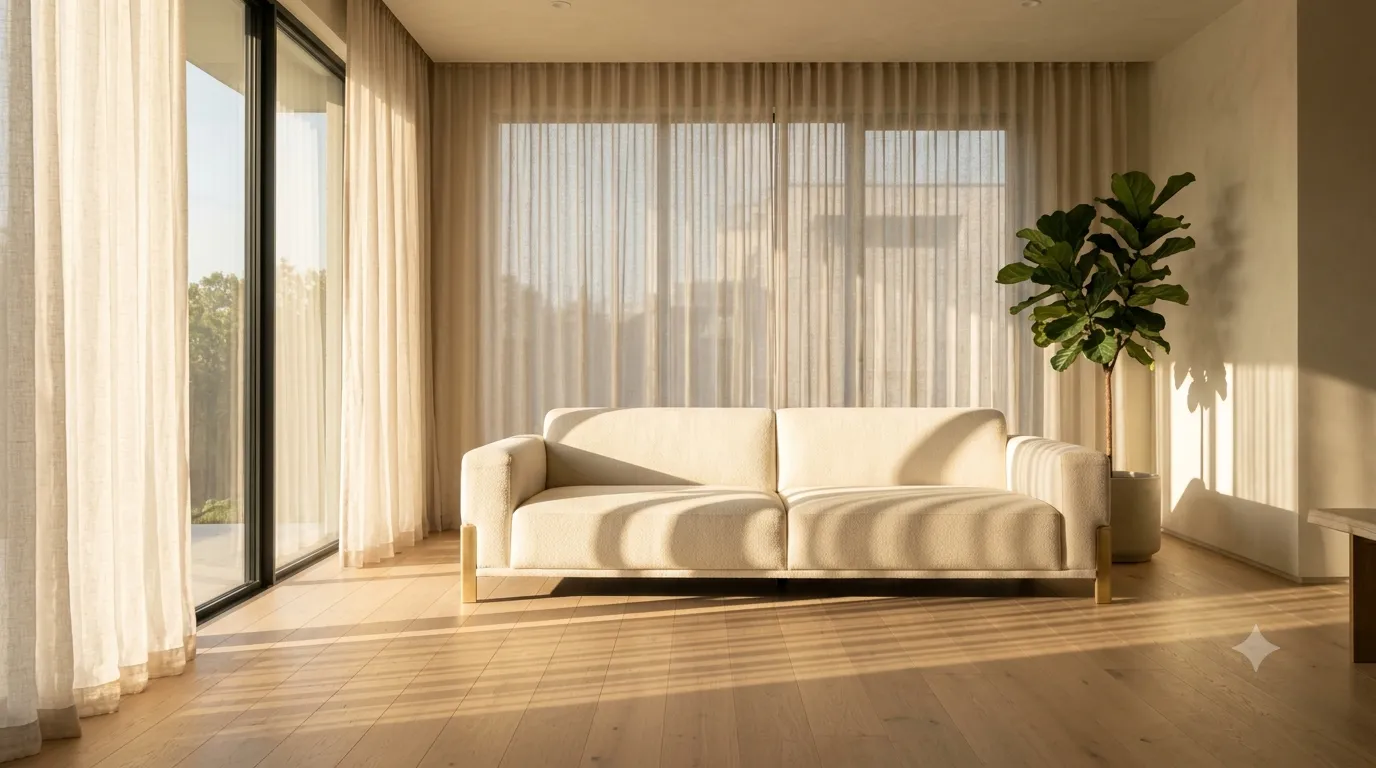
Lighting is the single biggest factor in whether an interior render reads as real. Corona Renderer has made this easier than most engines, but "easier" is not the same as "automatic." A scene lit by default settings looks generic at best. The craft is in the adjustments.
Step 1: Start with a strong HDRI
Place an HDRI environment in the Corona Environment slot before adding any artificial lights. Use a sky HDRI for daylight interiors or a softbox HDRI for evening shots. Match the HDRI rotation to where your windows face — the sun direction in the HDRI should agree with the shadows in your scene.
Step 2: Tone down the HDRI
Default HDRI intensity is almost always too high. Reduce it until your scene reads as dim and slightly underexposed. You are not lighting the scene with the HDRI — you are providing the directional and ambient cues. The real light comes next.
Step 3: Add Corona Light through windows
Place a Corona Light portal at each window. Portals guide the render engine's light calculation toward the openings, dramatically reducing noise without changing the look. Match the portal size to the window opening exactly.
Step 4: Bounce light, not direct light
Real interiors look real because of bounce light, not because of the lamp on the ceiling. Add a few low-intensity, large-area Corona Lights behind the camera to simulate bounce off the opposite wall. They should be invisible as light sources — only their effect on the scene should show.
Step 5: Practical lamps with IES or emissive geometry
For visible lamps, use either an IES profile (for accuracy) or an emissive material on the lamp geometry with a Corona Light placed inside (for control). Emissive geometry with a Light inside is usually the better choice — you control intensity and color separately from the lamp's appearance.
Step 6: Exposure and tone mapping
Use the Corona Camera's tone mapping (Filmic or Reinhard) and a Color Mapping operator. Filmic preserves highlight detail better; Reinhard is more forgiving for high-contrast scenes. Set ISO low (100-200) and adjust shutter speed to control overall brightness.
Step 7: The final 10%
Add a subtle volumetric fog if the room needs atmosphere, and place a few well-aimed fill lights to lift shadow detail in the corners. Render a test at low samples to check the lighting balance, then crank samples for the final pass.
For interiors with realistic lighting baked into the assets themselves, browse our Corona-ready 3D models.
