
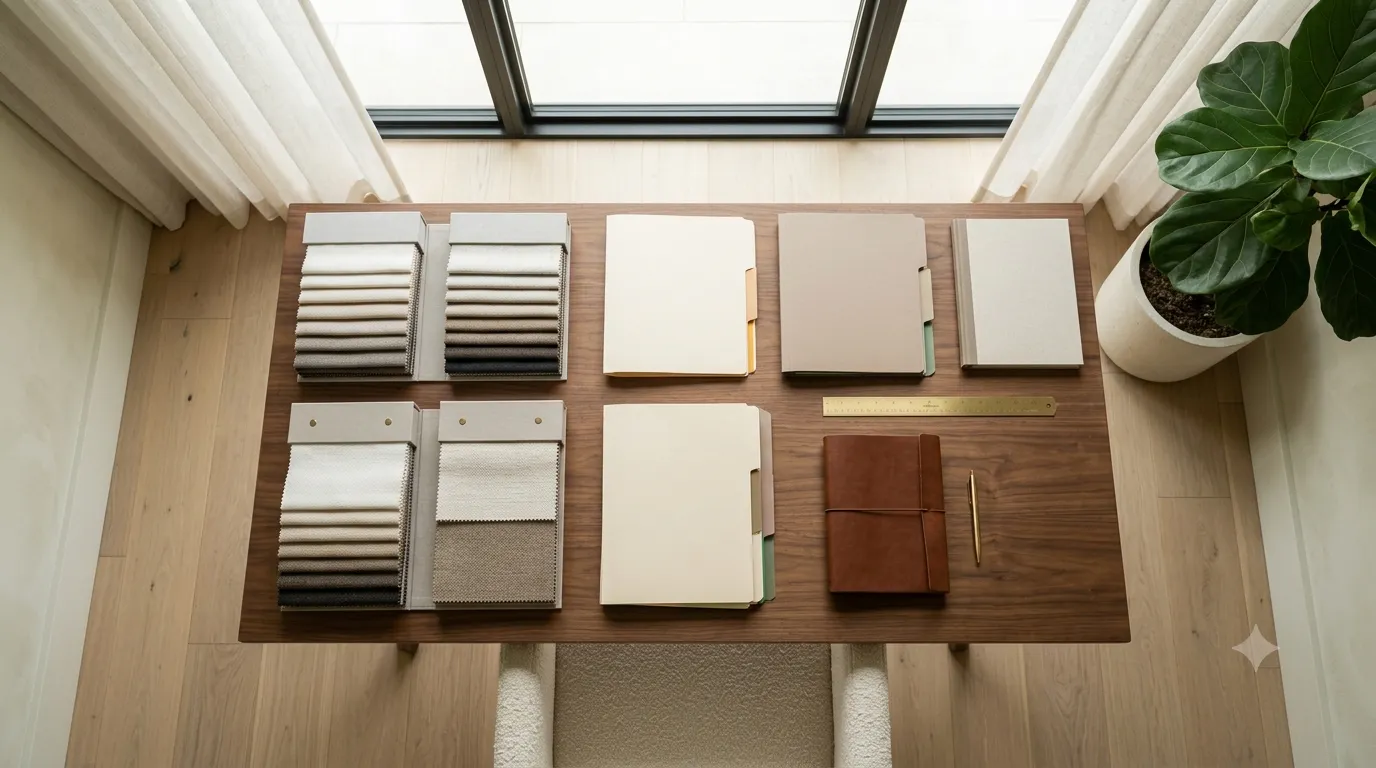
A well-organized 3D model library is the difference between finishing a project in three days and finishing it in three weeks. The investment in setting one up pays back within a month. Here is the workflow that works.
Start with the assets you actually use
Do not build a library of everything. Build a library of what you reach for. Look at your last ten projects and note the assets that appeared in more than one. Sofas, dining chairs, beds, common plants, kitchen hardware, light fixtures — these are the high-frequency assets worth investing time in.
Set folder structure by room and style
Organize by room first (Living Room, Bedroom, Kitchen, Dining), then by style within each (Modern, Mid-Century, Traditional, Scandinavian). This mirrors how you think about a project. Searching by style and room beats scrolling through category trees.
Standardize on file names and metadata
Every asset file should have a consistent name format: Brand_Model_Variant_Dimensions. Example: Knoll_Wassily_Chair_Black_75x75x85. The metadata should include polycount, scale verification, and material setup notes. Six months from now, you will not remember which of the 30 chair files is the right one without this.
Version your assets
Keep at least two versions of high-value assets: the current production version and the previous version. When a client asks for a "small change" that breaks your scene, you can roll back. Delete nothing permanently until the asset has been unused for a year.
Pre-build your materials
For wood floors, wall paint, and common fabrics, build a single material per finish and reuse it across every project. Editing one material to update every scene is faster than rebuilding materials per project. A library of 50 carefully built materials covers most residential interiors.
Use a master scene file
Keep one master scene file that contains every asset you own, organized by layer. This is your reference scene and your quality control. When you tweak a material or update an asset, you update the master, and every future scene pulls from the corrected version.
Buy and curate, do not hoard
Free models are useful but inconsistent. Pay for high-quality hero assets (sofas, dining tables, statement lights) from a curated library. The time savings from not cleaning up bad geometry every time you use an asset pay back the cost within a few projects.
Tag for search
Add descriptive tags to each asset file: brand, style, color, material, intended room. A simple text file or spreadsheet that maps tags to filenames is enough. AI-powered search engines on modern 3D model libraries handle this for you, but for personal libraries, manual tagging still works.
Review and prune quarterly
Every three months, look at your library. Anything not used in the last six months, move to an archive folder. Anything that gets pulled back from archive, you know is worth keeping. The rest is digital clutter.
For a curated starting point that already follows this workflow, browse our organized 3D model library.
